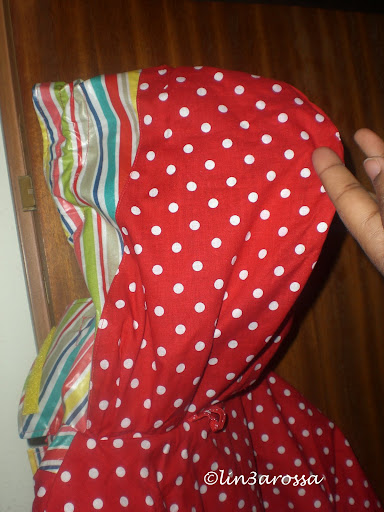
Rainbow stripes and dots raincoat and a hat – picture heavy
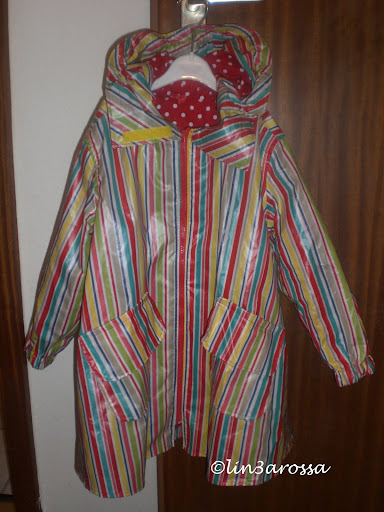
What do you do when you realize your child is going on “green class” in a couple of weeks and you still haven’t got started on the project you had long planned to have finished for that trip, ALTHOUGH you have all the materials and notions required? You get to work! I started on this project on a Monday and worked on it for a small amount of time every evening for about a week so I could meet my deadline. Only one commenter was brave enough to risk a guess (go CGcouture!) and no, I wasn’t making a leather jacket but a raincoat (Ottobre 4-2009, pattern 24).
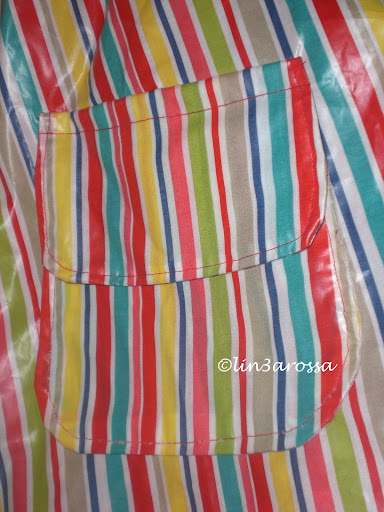
The fabric is a coated cotton I got last year at Karstadt for something like 3€/m, just because I knew I wouldn’t come upon such a fabric at such a price anytime soon but since I was absolutely clueless as to what I could do with this and whether I’d be able to handle it, I only got 1.5 m. I used every bit of it to make this raincoat in size 116 and there was not enough to match stripes, except on the pocket flaps. But the fabric is so busy that I don’t think it’s a big deal.
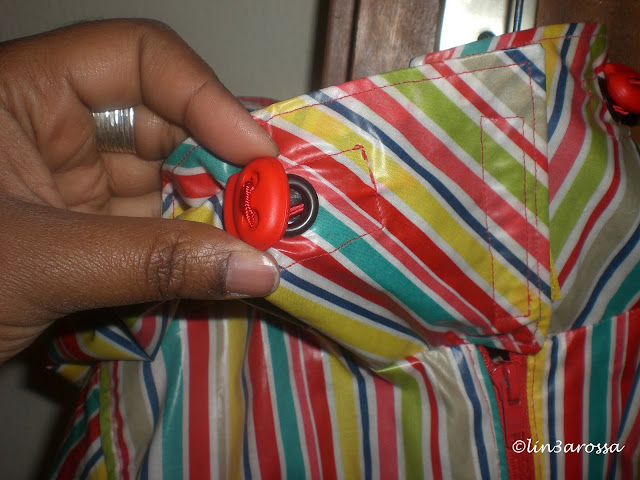
Lesson learned in this project: always favor Prym or Clover for notions like any other good-looking but unknown brand. These grommets on the hoodies are larger then Ottobre instructs because the first ones I got (because they were so cheap yet looked ok) would pierce the eye and the outside circumference of the grommet! The only way to hide it was to get bigger ones. This time from Prym…
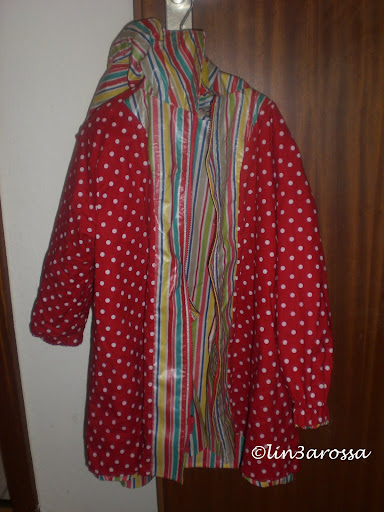
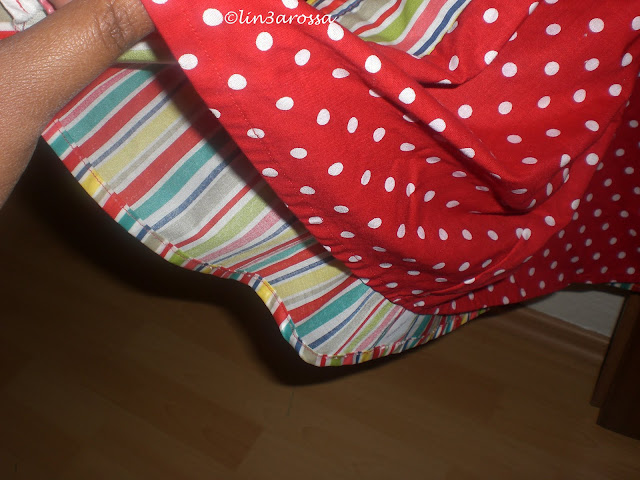
The lining is red polka dots I got at Hüco in Berlin with this very project in mind. Still have about 2 m left 🙂 The lining is not bagged. Instead, it hangs freely on the inside, so that at least the side seams might show and need to be finished properly (in my case with french seams).
This was quite a time-consuming project but the pattern is great and I think it’d be easier and just as nice in a non-raincoat fabric. It’s big and I knew it would be but I was about making the most out of that fabric and having DD wear it a bit longer…
The instructions were nice, except maybe the bit when they tell you to gather the bottom of the pockets. Ignore that, these are regular patch pockets. A nice trick for patch pocket is to sew them wrong side out with interfacing, trim as usual, turn them outside out and then sew them on the garment. That way, you get really nice and regular edges. Then carefully trim away the interfacing with embroidery scissors. Or if you’re witty, use the water-soluble interfacing (called Soluweb, I think) sold for appliqués! That’s the trick I used and the only reason they’re not perfect is that the coated fabric is not really cooperative for rounded edges.
Some tips about raincoat fabric:
- do not store raincoat fabric folded or the coating might get creased over time. Instead, keep it rolled, for example roll it on a gift paper roll
- use a Teflon foot; if you don’t have one, whenever sewing with the coated side up sew with a paper towel on top of the fabric and gently tear it away afterwards, using water to remove the last bits if necessary. Prefer the cheapo 1-ply type.
- if you don’t have a Teflon-coated iron, use baking paper between iron and fabric when pressing (this tip came from Ottobre, which I much appreciated!).
- only use needles within the seam allowances (also a tip from Ottobre); alternatively, use clothes pins or paper clips instead of needles;
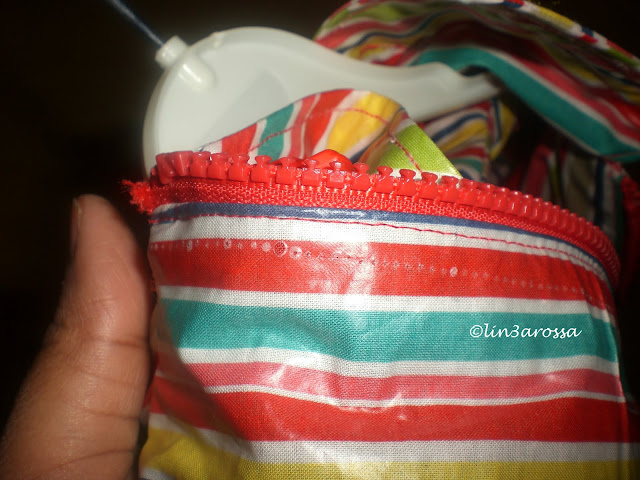
- use fusible waterproof sealing band (I got mine on Ebay) to seal your seams and make the raincoat waterproof; this is hardly removed once it sticks so be careful when applying it and only work on a few centimeters at a time. I got mine on Ebay since none of the notions store I know seemed to carry it or even know what it is. Someone advised me to look in outdoor shops like North Face or Globetrotter since it’s actually mostly used to repair tents and outdoor equipment but Ebay was the easiest for me 🙂 I used 3 meters for this project, which is less than Ottobre. Once done I tested the raincoat in the bathroom and it did held the rain under the shower head well, except at the neckline seam, so I sealed that one too – since the lining is not bagged, I didn’t have to rip one seam for that.
Speaking of ripping seams, I’d lie if I said I didn’t use my seam ripper. However, the only place where it’s visible is on a facing i.e. on the inside of the coat, i.e. 1) it’s not really visible and 2) it won’t let water come in.
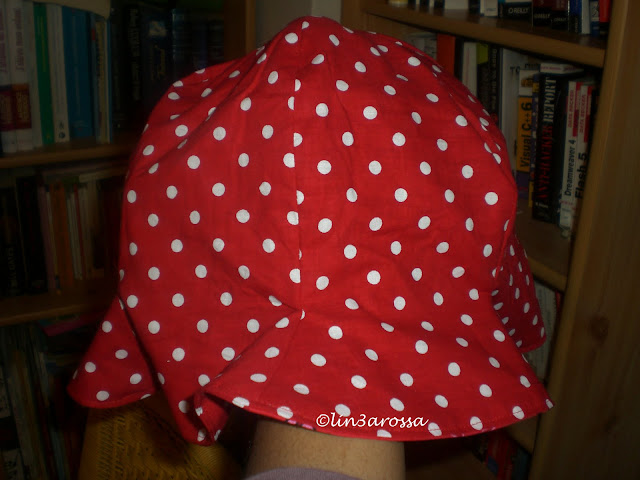
I made a no-pattern reversible hat based on this tutorial, because I thought the polka dots go really well with the Hello Kitty fabric. It went together in no time. I don’t have french curves so I used a plate(yes, from the kitchen) to draw the curves. It was funny…
Side A:

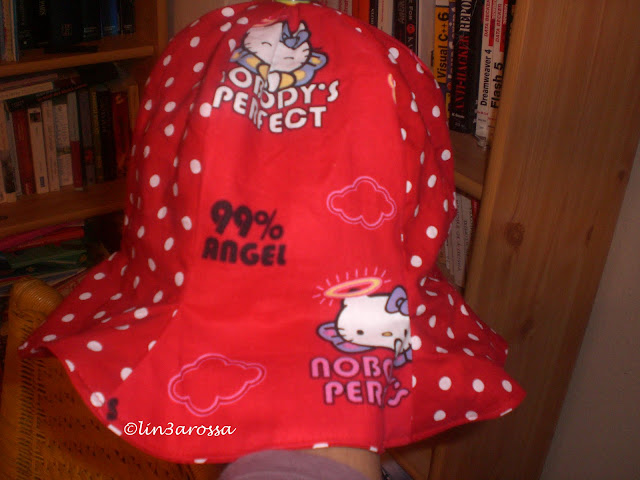
Side B:
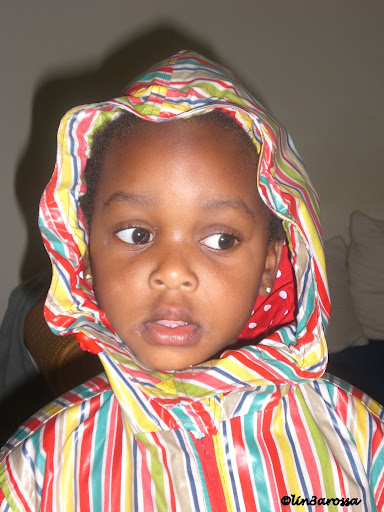
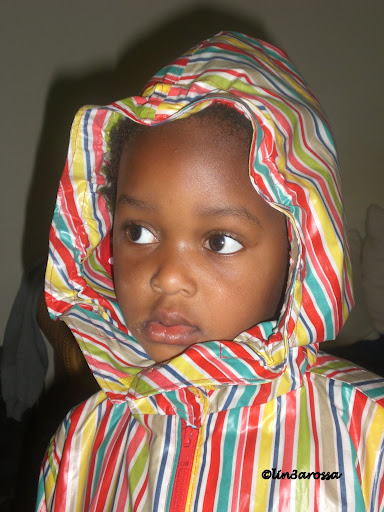
And now just for fun:


Doesn’t she look like a firefighter? lol What’s with the hanger you ask? I really don’t know. I guess a model needs props. Any props.
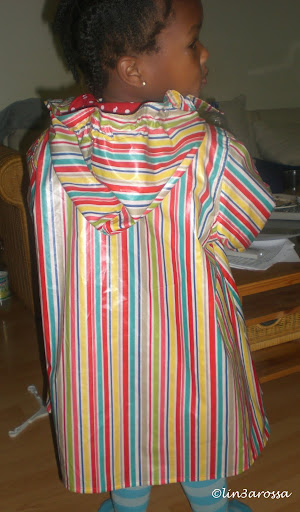
I love how the stripes look from the back. I hope she has fun tomorrow!


The raincoat and hat are both adorable. I love the Hello Kitty.
LikeLike
Cuteeeeeee
LikeLike
I love it! I think the hat is a very cute touch. 🙂
LikeLike
Your little girl is completely adorable, and the coat is great too!
LikeLike
That is just too cute. I just love the colors and the pattern inside!
Thanks for taking the time to stop by Everyday Mom Ideas and entering to win the blog header with matching button. I wish you much success.
LikeLike
So cute! Surely she will bring many smiles on rainy days. Thank you for the very helpful rainwear tips.
LikeLike
What a fabulous raincoat. I did not think to look on ebay for heat seal tape, that would probably have been easier for me too! I bought mine from Seattle Fabrics.
LikeLike
Hello!
I work in the entertainment department at The National WWII Museum in New Orleans, Louisiana. We are opening a new show in our live theater soon and we are in need of a 1940’s style raincoat as one of our costumes. I stumbled upon this blog post of yours, and I just love the raincoat you made for your daughter! I am wondering if you would be able to make something similar for our show? Please let me know if you are interested. You can reach me at
Thank you!
LikeLike
I love this Linarossa – I don’t think I have seen it before. Your darling looks gorgeous in it.
I am about to start one for my daughter – I hope it turns out as nice…
Take Care
Cherri
LikeLike
Hi Linea Rossa it’s Cherri again…
I hope your well and that you may answer my question…please….!
I have almost finished my raincoat and cannot understand the instructions regarding the elastic for the sleeves (wrists). My pattern piece shows a ‘fold’ line at about 1.5cm in from the sleeve edge. The instructions then say to stitch both edges of the elastic to …
“…sleeve edges, aligning edges of each elastic with casing allowance. ”
These instructions have me a little perplxed as the casing line (which I believe is the fold line) is only 1.5cm in from the sleeve edge, therefore exposing the elastic which is 2.5cm wide.
How did you finish your sleeve edges? Do you remember? I cannot see how to attach the lining to the sleeve edge if the whole 1.5cm allowance is taken up with the elastic.
So, so hope you can shed some light 🙂
Thanks you – Cherri
LikeLike